Artifex Fabricatum
Ridix Conqueror - Dwarf Fighter
Ridix Conqueror - Dwarf Fighter
Couldn't load pickup availability
“He counts his years in dents on the shield rim, not in birthdays; nobody has celebrated one of those since the ash started falling.”
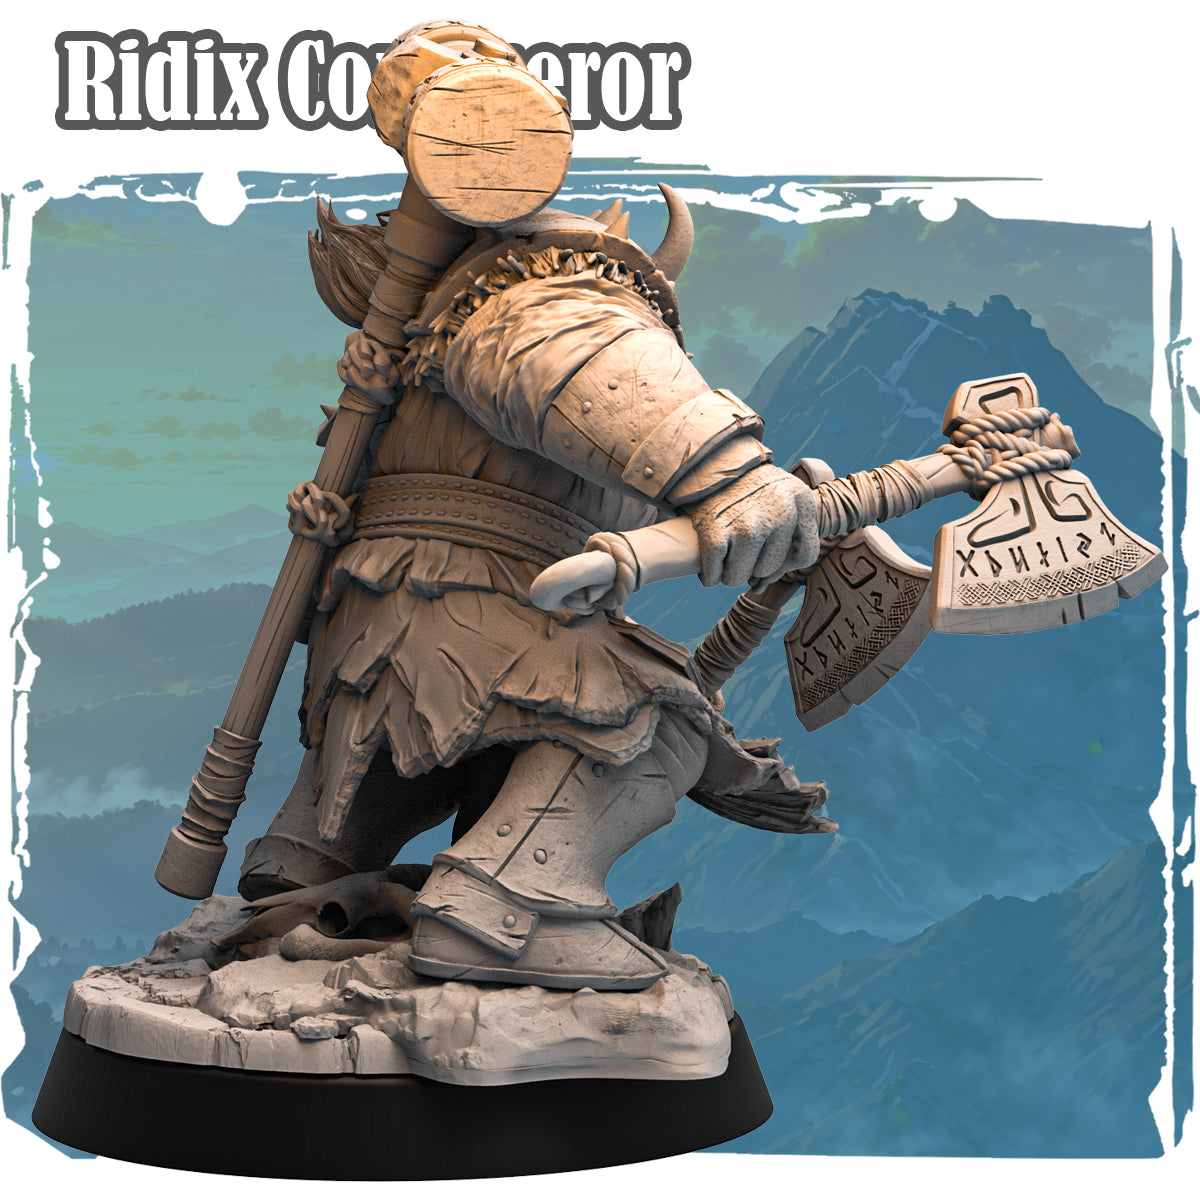
Ridix Conqueror is a massively built dwarf fighter miniature, sculpted with brutal Norse-inspired detail and an unmistakable presence on the tabletop. This physical resin miniature arrives with supports already removed and cleaned, ready to assemble and paint. Standing at approximately 32mm scale, every surface tells a story of countless battles hard won and enemies crushed beneath iron and fury.
Supplied unpainted.
The figure wields a runic double-headed axe in one pose variant, a runed war hammer raised high overhead in another, and carries a large round shield banded in riveted steel. His horned helmet, spiked pauldrons, layered fur mantle, and studded belt buckle bearing a skull motif all reinforce the image of a warrior who leads from the front and answers every challenge with overwhelming force. The sculpt is sold as a single character unit.
Three distinct pose variants are shown across the product images, allowing collectors to choose the stance that best fits their warband or display board. Each version of Ridix Conqueror shares the same core armour silhouette but presents a unique weapon loadout and dynamic weight shift, giving genuine variety to the range.
Whether you are building a warband of fierce northern fighters or simply adding a centrepiece model to your collection, this figure delivers exceptional sculpt quality and deep surface texture that rewards careful painting and washes alike. This piece was designed by Haito, whose eye for character and detail is evident in every carefully considered surface of the model.
Painting Guide: Ridix Conqueror - Dwarf FighterThe following guide is designed for intermediate painters who want to bring out the full character of this grimdark northern warrior. Take your time on the fur and runic engravings as these areas define the overall look.
1. Prime
- Apply a grey or black zenithal prime to establish strong shadows in the deep fur and armour recesses.
- A light dust of white from directly above will pre-shade the raised surfaces and save highlighting time later.
2. Armour Base
- Basecoat all metal armour plates with a dark iron tone such as Leadbelcher or Iron Breaker thinned slightly.
- Wash the entire armour area with Nuln Oil or a dark brown wash, letting it pool into every rivet and scratch mark.
3. Trim and Details
- Pick out the spiked studs and helmet horns with a warm bone colour such as Ushabti Bone, then highlight with Screaming Skull.
- Paint the belt buckle skull in a dirty off-white and shade with a brown wash for an aged ivory look.
4. Weapons
- Basecoat the axe and hammer heads with a mid-steel, then edge highlight with a bright silver on every bevelled edge.
- Paint the runic engravings with a deep blue or teal glaze to suggest ancient magical inscriptions carved into the metal.
- Handle wrappings and rope details can be done in a warm tan, washed with Agrax Earthshade for a weathered rope texture.
5. Weathering
- Stipple chipped paint and battle damage onto the shield face using a torn blister foam and dark brown paint.
- Add rust streaks below rivets on the pauldrons using a thin orange-brown mix pulled downward with a fine detail brush.
6. Bases
- The sculpted base features broken stone and a partial skull. Paint stone in grey tones with a dry brush of light grey over a dark wash.
- Finish with tufts of dead grass and a thin gloss varnish on any exposed bone to separate materials visually.
This is an adult hobbyist collectible, not a toy. Not suitable for children under 14 years due to small, detailed parts.
 Designed by
Haito
View all 80 miniatures
Designed by
Haito
View all 80 miniatures