Artifex Fabricatum
King of the Great Harvest - Sci-Fi Wargaming Miniatures
King of the Great Harvest - Sci-Fi Wargaming Miniatures
Couldn't load pickup availability
“It came after the harvest crews stopped answering their radios, and it left the digging tools behind, still stuck in what it did not finish eating.”
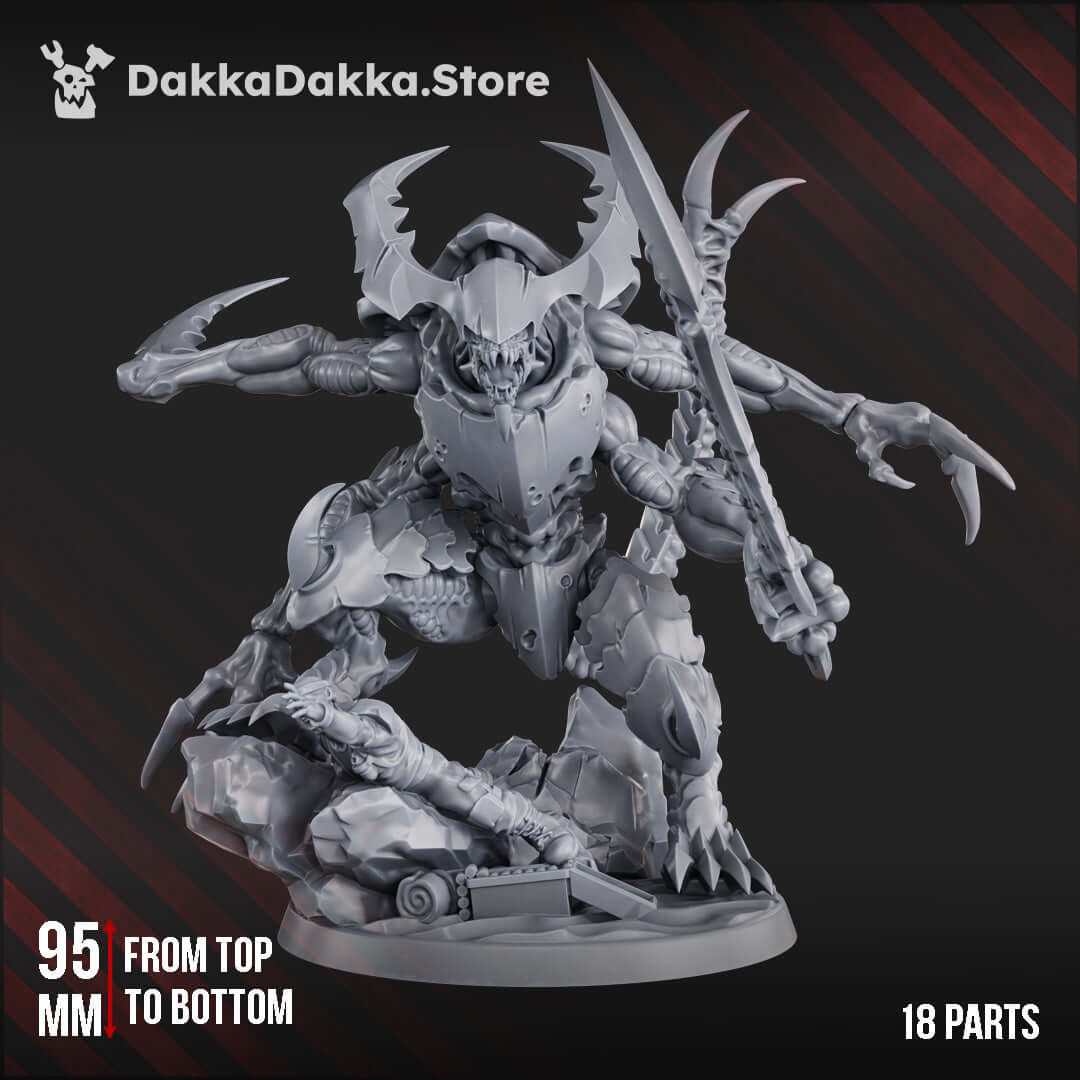
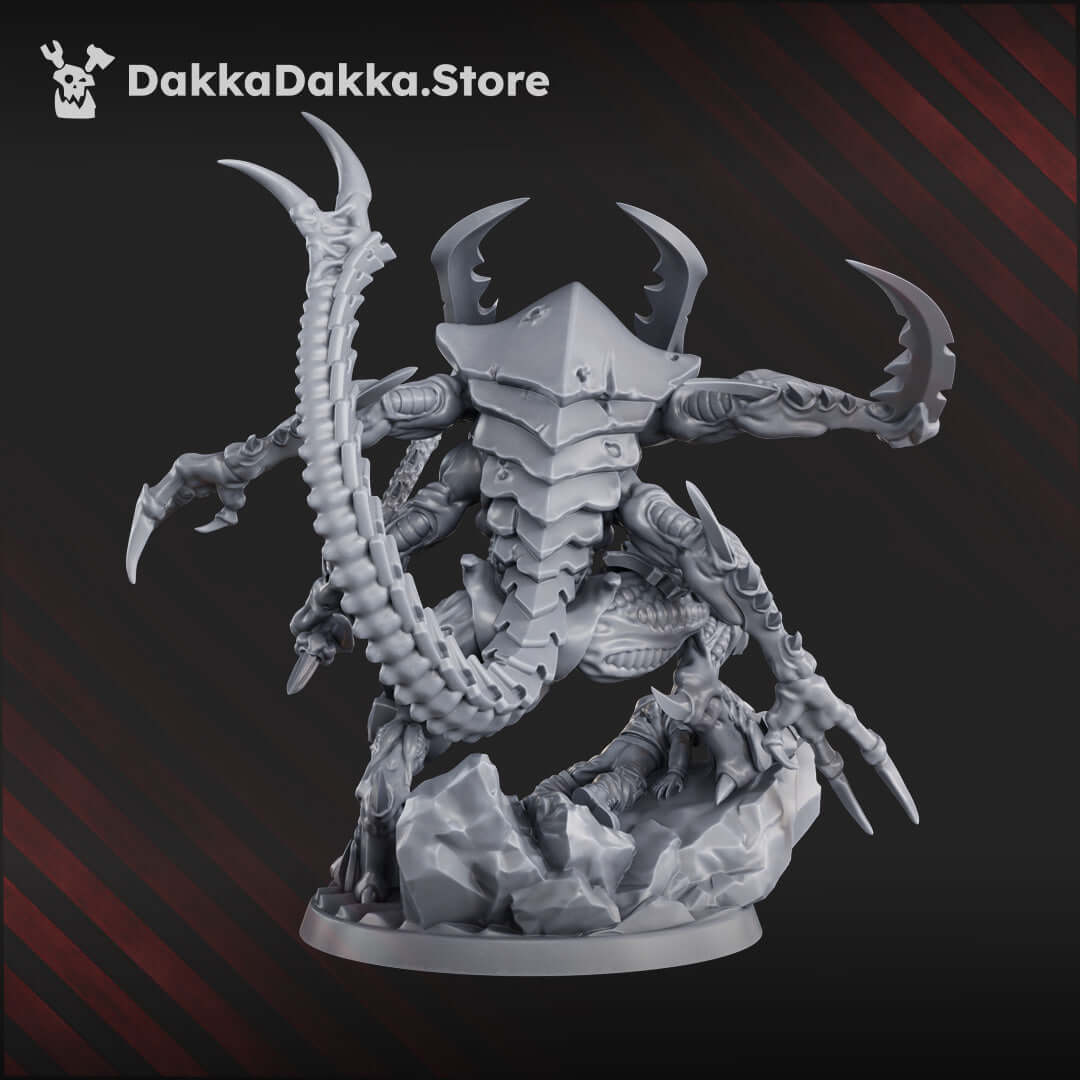
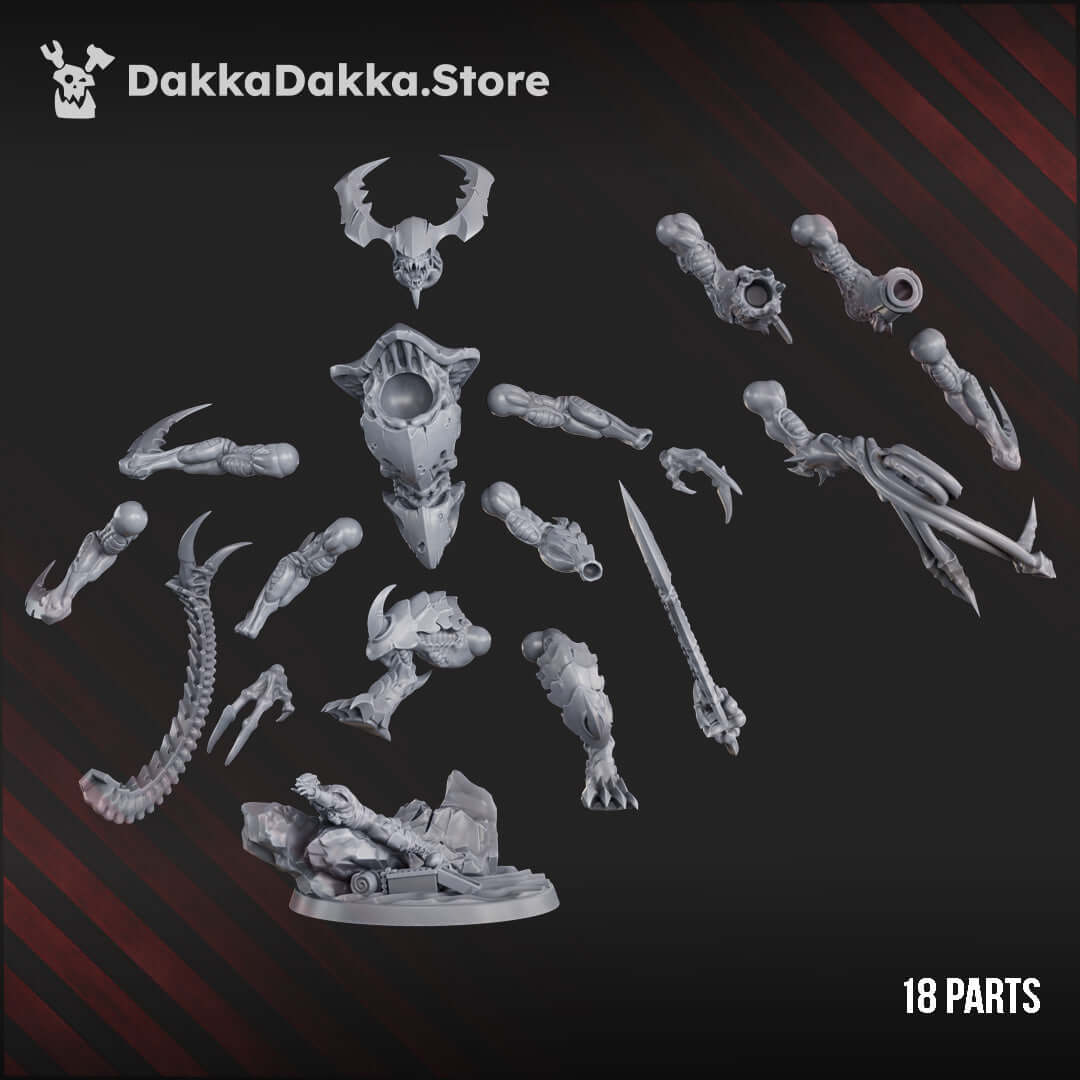
The King of the Great Harvest is a towering, multi-limbed apex predator cast in high-quality resin, standing 95mm from base to top and arriving as a physical miniature ready to assemble and paint. This single-model kit comprises 18 individual parts, including a horned skull-helm, segmented torso, bladed scythe-spear, bone-spine whip tail, and a scenic base depicting a fallen soldier crushed beneath its clawed foot. Every component has had its supports removed and been cleaned, so you can move straight to assembly with plastic-compatible super glue.
Designed in a grimdark sci-fi aesthetic, this creature fuses organic chitin plating with angular armour panels, conveying the sense of an ancient, unstoppable bio-weapon evolved solely to harvest worlds. Sculpted by DakkaDakka, the King of the Great Harvest carries four distinct limb configurations across its body, from razor talon arms to skeletal weapon-bearing appendages, giving the completed model an imposing, asymmetric silhouette. The included scenic base adds immediate narrative weight, showing broken stone, scattered equipment, and a defeated warrior ground underfoot.
This miniature is supplied unassembled and unpainted. Dry-fitting all 18 parts before gluing is strongly recommended. Light sanding of join surfaces ensures tight bonds. Suitable for 40mm-scale skirmish wargames, large-model display cases, and diorama builds.
Painting Guide: King of the Great Harvest - Sci-Fi Wargaming MiniaturesThe following guide will help you bring the King of the Great Harvest to life with a dark, visceral colour scheme suited to its grimdark bio-mechanical design.
1. Prime
- Apply a black or dark grey zenithal prime to establish deep shadows across the segmented armour and organic limbs.
- A light grey or white zenith spray from above will pre-shade highlights on raised surfaces.
2. Armour Base
- Basecoat chitin panels with a deep olive green or dark teal, thinned to two smooth coats.
- Wash the entire armoured body with a dark green or black-green shade to deepen recesses between plates.
3. Trim and Details
- Drybrush raised armour edges with a lighter green or bone colour to pick out panel rims.
- Paint the horns, claws, and bone structures with an ivory basecoat, then shade with a sepia wash.
4. Weapons
- Basecoat the bladed scythe-spear with a dark steel metallic and shade with a black wash.
- Edge highlight the blade with a bright silver, focusing on the very tip for a razor-sharp effect.
5. Weathering
- Apply chipped paint effects to armour panels using a sponge dabbed with a dark brown and silver mix.
- Add dried blood effects to claws and blade edges using a dark red glaze applied sparingly.
6. Bases
- Drybrush the rocky base with light grey over a dark base, then paint the fallen soldier in muted military tones to contrast the creature above.
This is an adult hobbyist collectible, not a toy. Not suitable for children under 14 years due to small, detailed parts.
 Designed by
DakkaDakka
View all 346 miniatures
Designed by
DakkaDakka
View all 346 miniatures