Artifex Fabricatum
Ignisaurus Lieutenant Saurus | 32mm Sci-Fi Mini
Ignisaurus Lieutenant Saurus | 32mm Sci-Fi Mini
Couldn't load pickup availability
“They count kills by scale, not by tally marks; the cloak ran out of room for both years ago.”
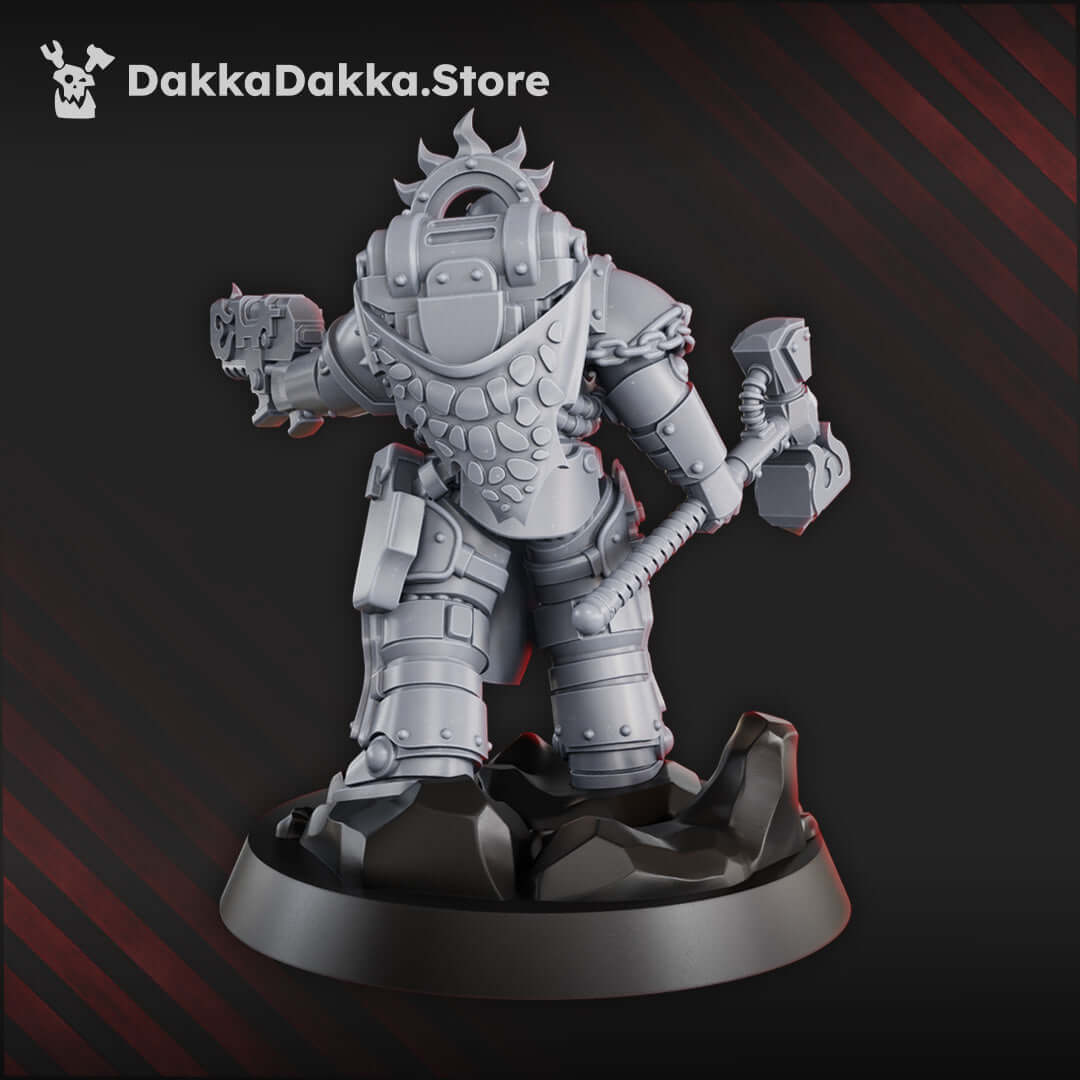
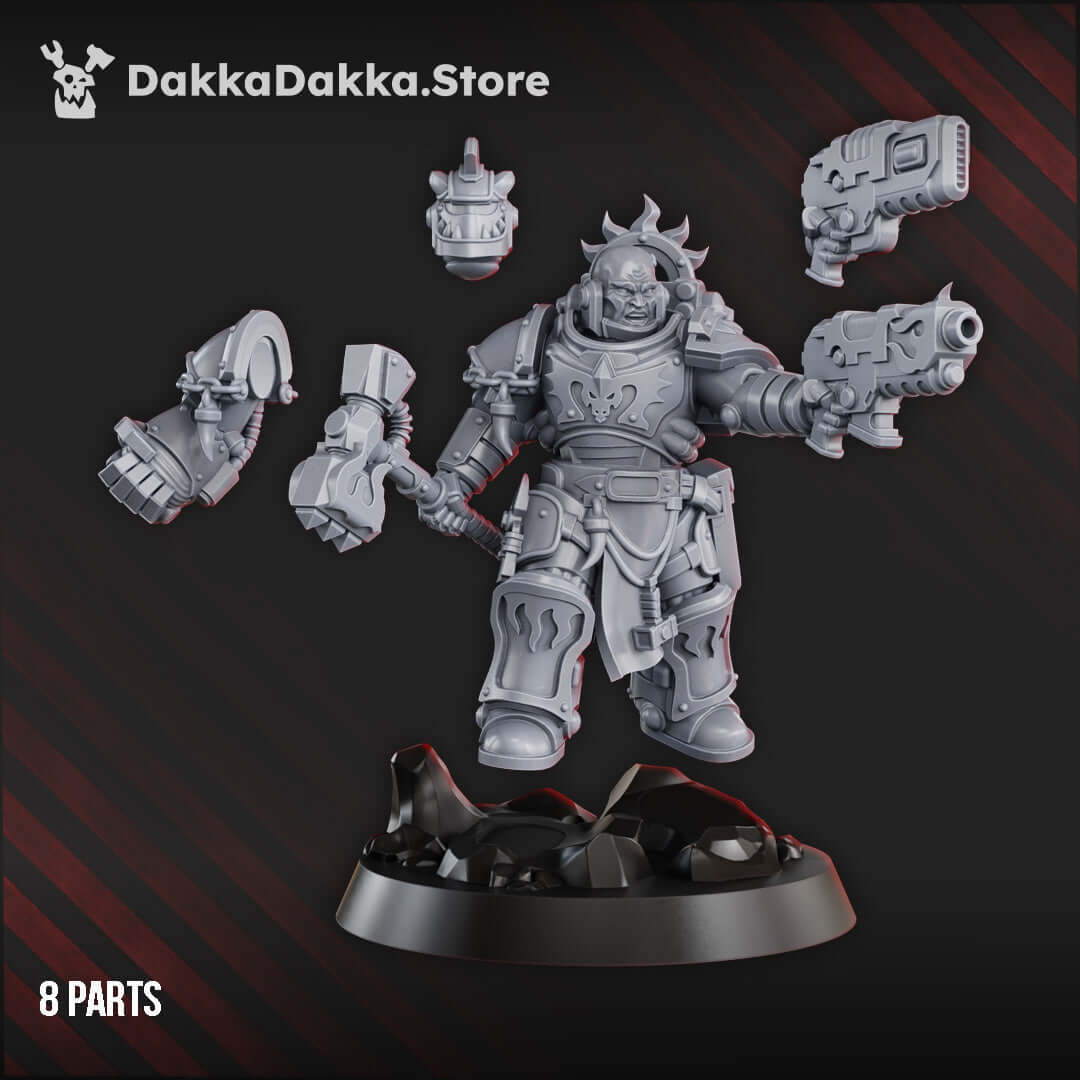
The Ignisaurus Lieutenant Saurus is a commanding presence on any sci-fi wargaming table, sculpted with brutal authority and rendered in high-detail grey resin. This physical miniature arrives with supports already removed, cleaned, and ready to assemble from its 8 individual parts before priming and painting. Standing 36mm from feet to eyes, the model carries serious visual weight and is designed to anchor any grimdark strike force as a named officer or elite combatant.
Supplied unpainted.
The figure wears heavy power armour decorated with flame motifs and layered pauldrons, with a scaly trophy cloak draped across the back suggesting battlefield trophies and veteran status. The right hand grips a brutal power maul wrapped in coiling cables, while the left arm levels a chunky sci-fi pistol with aggressive boxy geometry. A spiked halo-like crest rises behind the bare, scarred head, reinforcing the character as a warlord who leads from the front. This piece was designed and sculpted by Atlan Forge, whose work brings a distinctive intensity to the character.
The Ignisaurus Lieutenant Saurus is supplied as an 8-part kit, allowing painters to work on arms, head, and weapon options separately before final assembly. This makes achieving smooth blends on the armour panels far easier and is particularly recommended before undertaking any advanced painting techniques. The rocky rubble base included adds dynamic height and grounds the model convincingly in a war-torn environment.
Scale: 36mm from feet to eyes, supplied in grey resin, on a round slotted base. Glue and paint are not included. Suitable for use in any 32mm grimdark sci-fi skirmish or rank-and-file wargame system.
Painting Guide: Ignisaurus Lieutenant Saurus - Sci-Fi Wargaming Miniatures, 32mm ScaleThis guide walks you through a battle-worn grimdark scheme that suits the brutal aesthetic of this elite officer. Work methodically across the 8 parts before assembling for best results.
1. Prime
- Spray with a grey or black primer for maximum contrast on the armour panels
- Ensure all recesses on the maul and pistol are fully coated before moving on
2. Armour Base
- Apply a dark iron or charcoal basecoat across all armour surfaces
- Add a secondary warm bronze tone to the trim plates and pauldron edges
3. Trim and Details
- Pick out the flame engravings on the knee guards and chest in a deep orange, building up to a bright yellow-orange highlight
- Paint the scaly cloak on the reverse in a deep brown, then drybrush with a warm tan to lift the scales
4. Weapons
- Paint the power maul shaft in a dark steel, then glaze the head with an electric blue or purple energy effect
- Basecoat the pistol in gunmetal, picking out buttons and lenses in bright contrasting colours such as green or red
5. Weathering
- Apply a dark brown wash into all recesses across the armour and weapons to deepen shadows
- Stipple chipping fluid or a sponge-applied dark grey around armour edges to simulate battle damage
6. Bases
- Paint the rubble in dark grey, then drybrush with mid-grey and off-white for a shattered urban battlefield look
- Finish with a light static grass or ash powder at the edges for texture and contrast against the boots
This is an adult hobbyist collectible, not a toy. Not suitable for children under 14 years due to small, detailed parts.
 Designed by
DakkaDakka
View all 346 miniatures
Designed by
DakkaDakka
View all 346 miniatures