Getting Started with OPR, Part Two: Your First Steps
Share
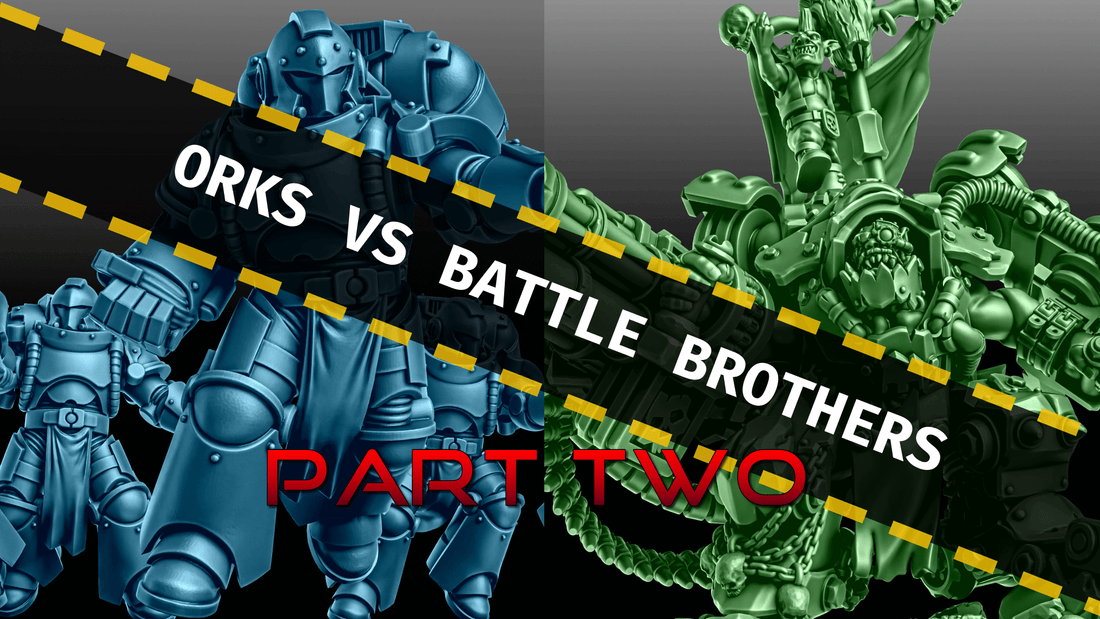
⚔️ Getting Started with OPR: Movement & Your First Steps on the Table
Featuring Orc Marauders & Battle Brothers from Artifex Fabricatum
In Part I, we built two balanced beginner forces, now it’s time to learn how to move them around the table. Movement is one of the most important skills in OPR, because your positioning decides whether you get the charge, the shot, or the objective.
This is a beginner-friendly, step-by-step movement exercise you can do at home before your first full game.
🛠️ What You’ll Need
- A tape measure (marked in inches)
- A flat playing space (3’ x 3’ is perfect)
- Any terrain you have — books, boxes, or proper wargame scenery
- Your miniatures (or stand-ins if you haven’t painted them yet)
- An objective marker (coin, token, or crate miniature)
1️⃣ Understanding Movement Values
In OPR, every unit has a Move stat in inches. This is how far it can travel in a normal move action.
Examples from our starter lists:
- Orc Warriors – Move 6"
- Jump Pack Orcs – Move 12" and ignore terrain when moving
- Battle Brothers – Move 6"
- Assault Brothers – Move 6" but often aim to charge
2️⃣ Basic Movement Exercise
Setup:
- Place one unit from each army 12" away from the central objective.
- Place random terrain on the board. This can be books, boxes or actual terrain pieces. You can assign the terrain type as Blocking or Difficult
Step 1 – Measuring:
- Pick a direction.
- Place your tape measure at the front of your unit’s base.
- Move the model straight ahead up to its movement value (you can move less if you want).
Step 2 – Facing:
- Units in OPR don’t have to worry about facing, they can pivot freely during movement.
Try it:
- Move your Orc Warriors 6" towards the objective.
- Move your Jump Pack Orcs a full 12" leap over terrain directly towards the enemy.
- At the end of the turn, ensure that your unit has cohesion. That is, each model must be within 1 inch of the next model and no model can be further than 6 inches from another. This keeps the unit tight.
3️⃣ Terrain & Movement
Blocking Terrain: Some terrain (like big walls) stops you from passing through it unless you have a special rule.
Difficult Terrain: Slows movement — it costs double the inches to move through.
Example:
- An Orc Warrior moving 6" would only get 3" through a swamp area.
- A Jump Pack Orc ignores it entirely.
4️⃣ Charging into Combat
Charging is a special move that puts you straight into melee:
- Declare the target unit.
- Measure — you must be able to reach them with your movement value.
- Move into base contact.
Example:
- Your Assault Brothers are 5" from an Orc Berserker squad.
- They move 5" forward and are now in melee combat — no shooting for either side until they break away.
5️⃣ Retreating from Combat
Sometimes you don’t want to stay in melee.
- You can make a Retreat move — up to your normal movement distance, directly away from the enemy.
- You can’t shoot in the same turn you retreat, but it may save the unit.
🎯 Practice Drill
Play 3 “mini-turns” with just movement:
- Advance — move all units towards the objective.
- Charge — move melee units into combat when in range.
- Fall Back & Reposition — retreat one unit and move another to cover the objective.
💡 Key Takeaways:
- Measure carefully — being even half an inch short can ruin your plan.
- Use terrain — hide vulnerable units, move assault troops behind cover until ready to strike.
- Fast units change the game — use them to flank or claim objectives early.
🛒 Shop the Armies
Next time, in Part III, we’ll add shooting and melee combat to the mix, so you can run your first full battle with confidence.